Tips and Tricks:
A Page In Progress
I will try to answer your
questions.
Welcome
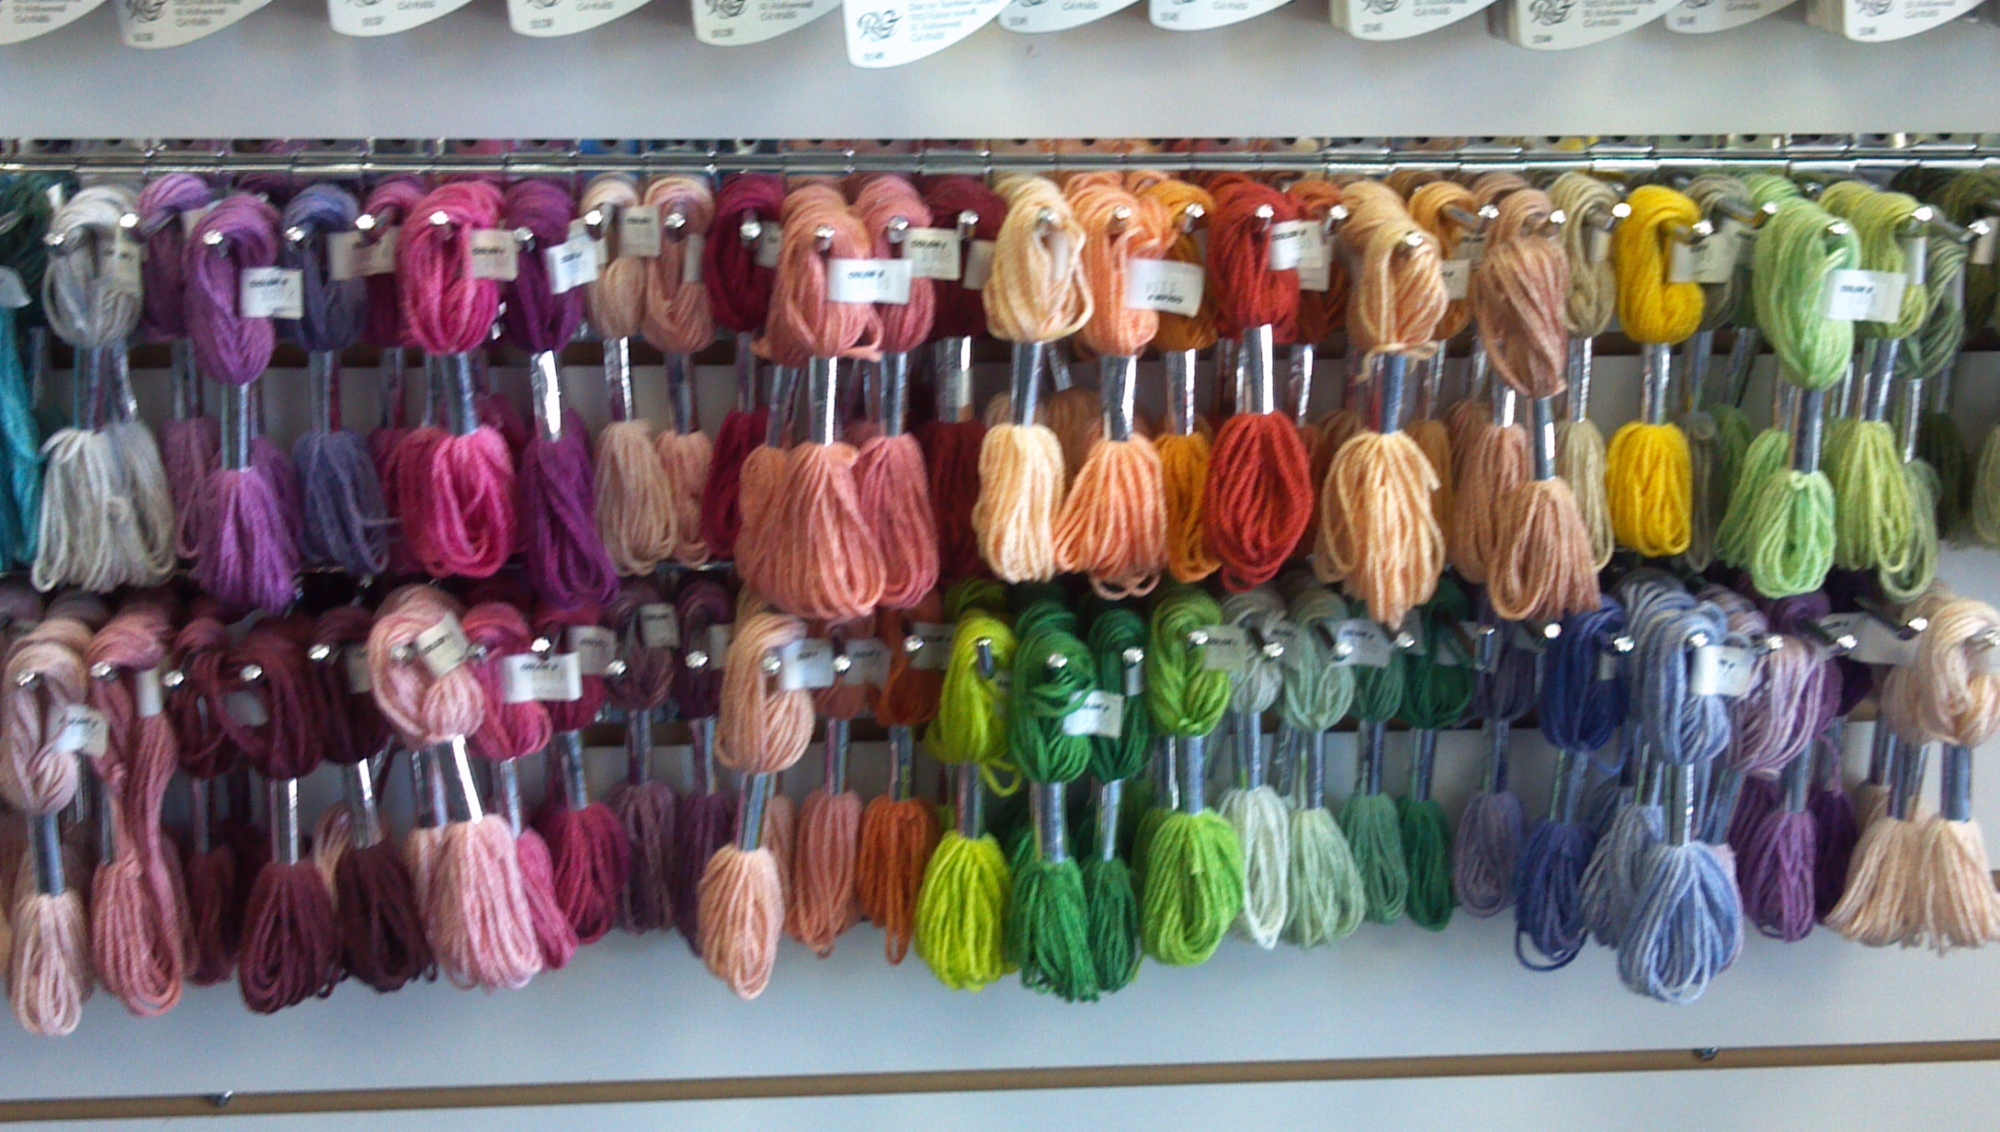
Our Services Closeout
Fibers
In-Stock Fibers Canvases! Books
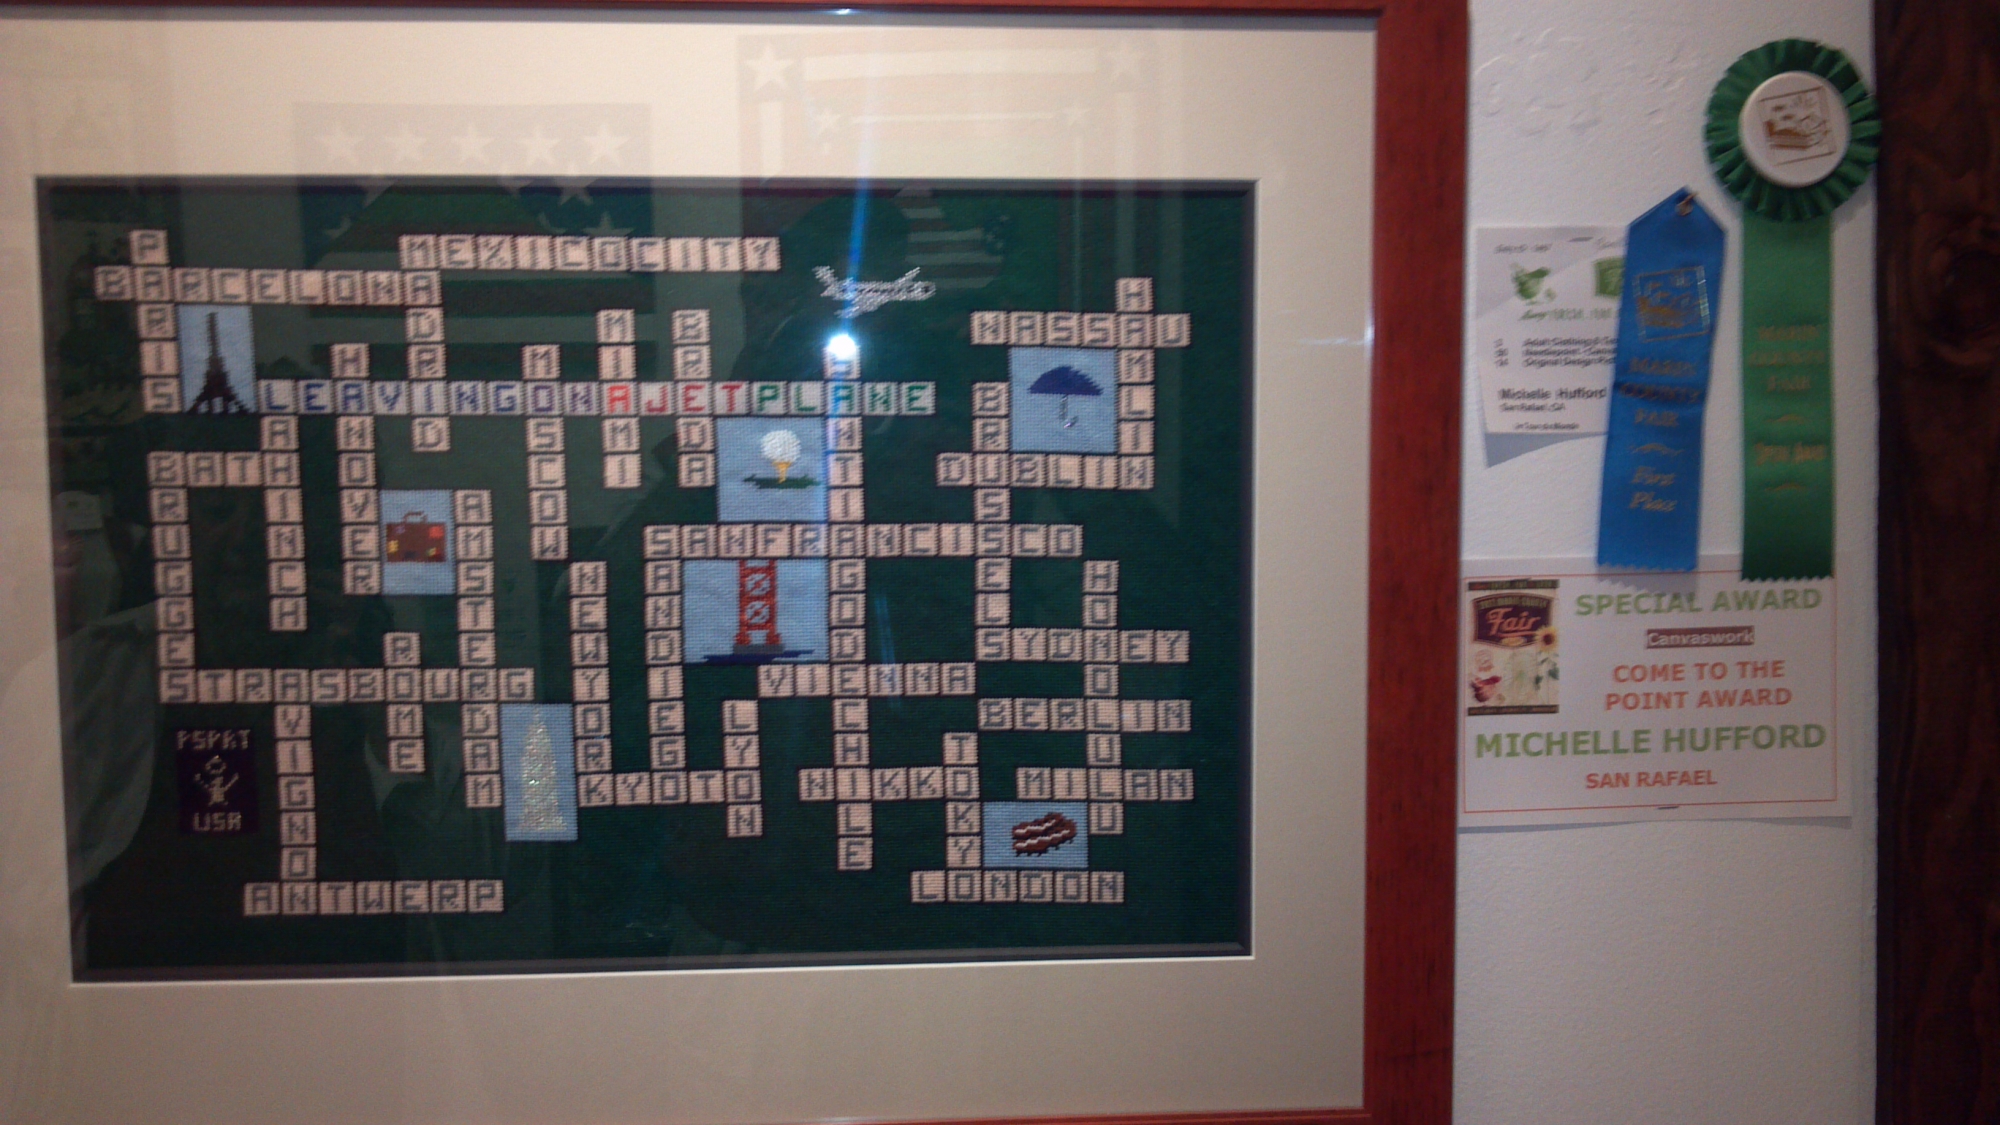
The crossword puzzle was created by RED Designs of San Rafael. The icons were added by JKR Designs of Colorado. The ribbon is courtesy of the 2012 Marin County Fair.
I have reveled in the needlearts for more years than I care to
remember. Nothing makes me happier than putting thread to canvas.
OK, yes, there is: helping my customers do the same! Hence this
final page. It’s not a blog (I wish I had the time!), but a
collection of observations made over the years. I will update it at
least once a month. Please pop back on a regular basis and see
what’s new.
Keep a neede and thread in your hands, and you'll keep
out of trouble!
In the Scheme of Things, Thread is Inexpensive!
When planning our projects, we often fail to consider the
technicalities, such as ripping and tying off. And then there’s the
dyelot issue, especially with variegated
threads.
If you’re not sure you have enough, that extra card or skein is
worth the peace of mind.
The Backside of Your Stitching Matters!
That snarl you ignore will have consequences! You’ll be glad you took the time to fix it. Always remember the backside of your work needs to be as smooth as possible, in order for the front to shine!
This six-color pattern is a Come to the Point exclusive
from
Janet Perry
of
Napa Needlepoint.
Doing the Continental
The lowly Continental is actually more versatile than it's given credit for. This go-to stitch fits where even the Basketweave won’t. If you want to do the Tent Stitch with a variegated thread, this is your baby. Keep in mind these simple rules, and you’re all set. One caveat – it is a thread chewer!
Each row MUST be worked from right to left, and the stitches laid top to bottom. This is one of the few hard and fast guidelines in needlepoint. In order to ensure perfect coverage on both sides of the canvas, EACH SIDE must look like this: ////////.
If the row is short, pull your thread to the right, and start over. If not, tie off and begin again under your first stitch.
Stitch each Continental row with one continuous thread length. A
tie-off in the middle of a row of Continental stiches will disrupt
the flow. To make sure you have enough thread, lay it out across
the area to be covered. If you have 2.5 lengths, you’re
fine.
Stitch each row in one complete pass. Our tension changes during
the course of a stitching session. This is especially evident in
the Continental. The best way to prevent this from showing in your
work is to stop only at the end of a row.
Why Do I Need Multiple Pairs of Scissors?
Nothing dulls blades faster than metallic thread. You should have a pair set aside for just that purpose. I keep another pair with sharp narrow blades for clipping thread after I tie off, and yet another sturdier pair for thicker threads. Besides, how often have you put a favorite pair into a project bag, only to forget where they went! There are such darling, reasonably-priced pairs available, it’s hard to resist adding to your collection.
Tying Off
Allow about three needle lengths of thread. Hold the needle with the point facing you. Slip it under the stitches in a straight line! Keep the line straight, or you will create a permanent ridge on the front of your canvas. Pull until the thread is snug. Loop the thread back onto itself and repeat. Trim the thread as close as possible to the back of the work. If you do not lock the thread twice, there is an excellent chance the end will work its way loose. Every time I don’t do a “double tie down” I have a mess to deal with later.
All images and information depicted on this site are protected under copyright laws. Do not duplicate, use, reproduce, display or transmit any design or information without the express written consent of Michelle Hufford. © 2012 Michelle Hufford Come to the Point! 10 California Avenue, San Rafael, CA 94901
In remembrance.
$14.99..